
English ivy as a houseplant, how to propagate and grow it
Common ivy, also known as indoor ivy (Latin name hedera helix), is an evergreen climber you will certainly know as a natural decoration on walls, fences, trellises and pergolas. However, it is such a versatile plant that you can also grow it in pots or as a houseplant. It is a moderately demanding to low-maintenance houseplant and is easy to propagate.
The two growth stages of indoor ivy
Indoor ivy (known in English as English Ivy) has two stages of growth:
- When it is young (the so-called “juvenile” stage), it clings to surfaces (walls, fences or pergolas) by means of tiny roots growing along the stems.
- After about 10 years it becomes an “adult” plant. The leaves change shape, grow larger and are less lobed; in many ways the plant resembles a shrub more than a herbaceous plant. In autumn it is laden with yellowish-green flowers, which turn into black berries in winter.
Growers love ivy above all for its vigorous growth (and creeping) in different directions and up supports of various heights. Juvenile ivy plants can be grown in pots together with smaller cultivars. Handling them is rewarding: you can tie them around a growing frame, and the young shoots are very flexible and have no trouble covering almost any structure. They make a home much cosier.
Indoor ivy holds its own outdoors too. It provides one of the safest supports and hiding places for wildlife. The greenish-yellow flowers are a late source of nectar and pollen for insects, and the black berries contain enough calories to feed birds, including thrushes and blackbirds, which would otherwise starve in winter. Ivy also provides shelter for birds, bats and small mammals.
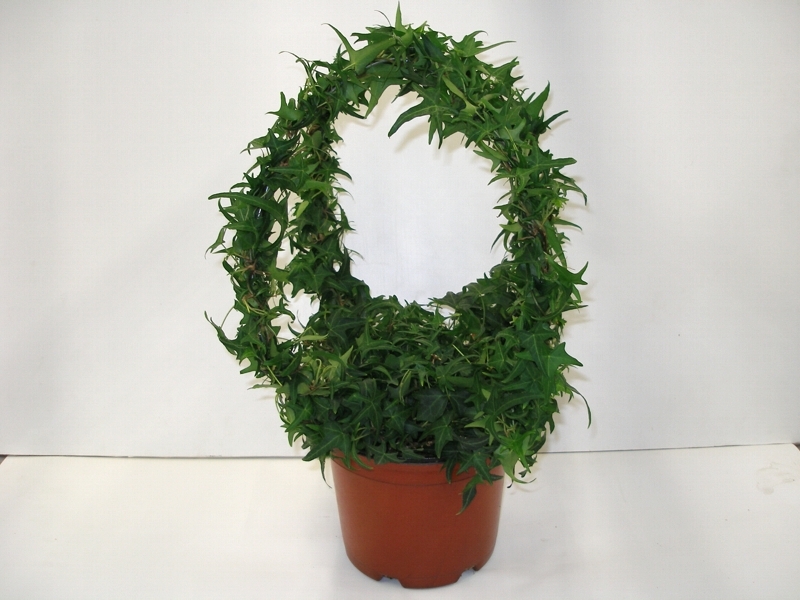
How to grow ivy? Watch out for heat and still air!
Indoor ivy loves the cold. If you place it, for example, in a bedroom with the central heating on, where the air is still and temperatures approach 20 °C, it will most likely soon die. The lighter the ivy variety you buy, the more you will have to juggle the amount of light it gets. In general, these two rules apply:
- Ivy with variegated leaves (alternating light and dark shades) needs light partial shade,
- Ivy with light leaves needs to be placed in a very bright room,
- Darker ivy varieties prefer so-called bright shade (created by shading an extra bright room).
WARNING! As soon as you put ivy (of any variety) out in the sun, it will be irreversibly scorched by the next day. It is extremely sensitive to direct sunlight. Growers advise: “Indoor ivy will grow in any soil as long as it is not waterlogged or overly acidic. If you are wondering where best to put it, a cool, rather shaded veranda, an unheated conservatory or a hallway with a light draught are good choices.”
How to care for ivy? Water sparingly and take care when repotting
Ivy is fairly demanding to maintain.
- While the plant is establishing itself, keep the soil moist; later it becomes more drought-tolerant.
- You can trim it at any time of year, ideally in mid-spring.
- It does not need any pruning, but you can sparingly cut back excess growth at any time of year, again ideally in mid-spring. Cut back overgrown ivy in early spring.
- If you grow it as a houseplant, water it only when the top 2 to 3 cm of compost is dry, so that excess water can drain away.
- Feed once in spring and once in summer.
Dry air at home causes the leaves to turn brown and curl. Once they have browned and curled, they will not straighten again. If you overdo the watering, the ivy’s roots will rot and it will never recover. Excessive humidity at home does not suit it either (Measure the humidity in your home before you buy ivy.) What else should you watch out for?
Spots on the leaves
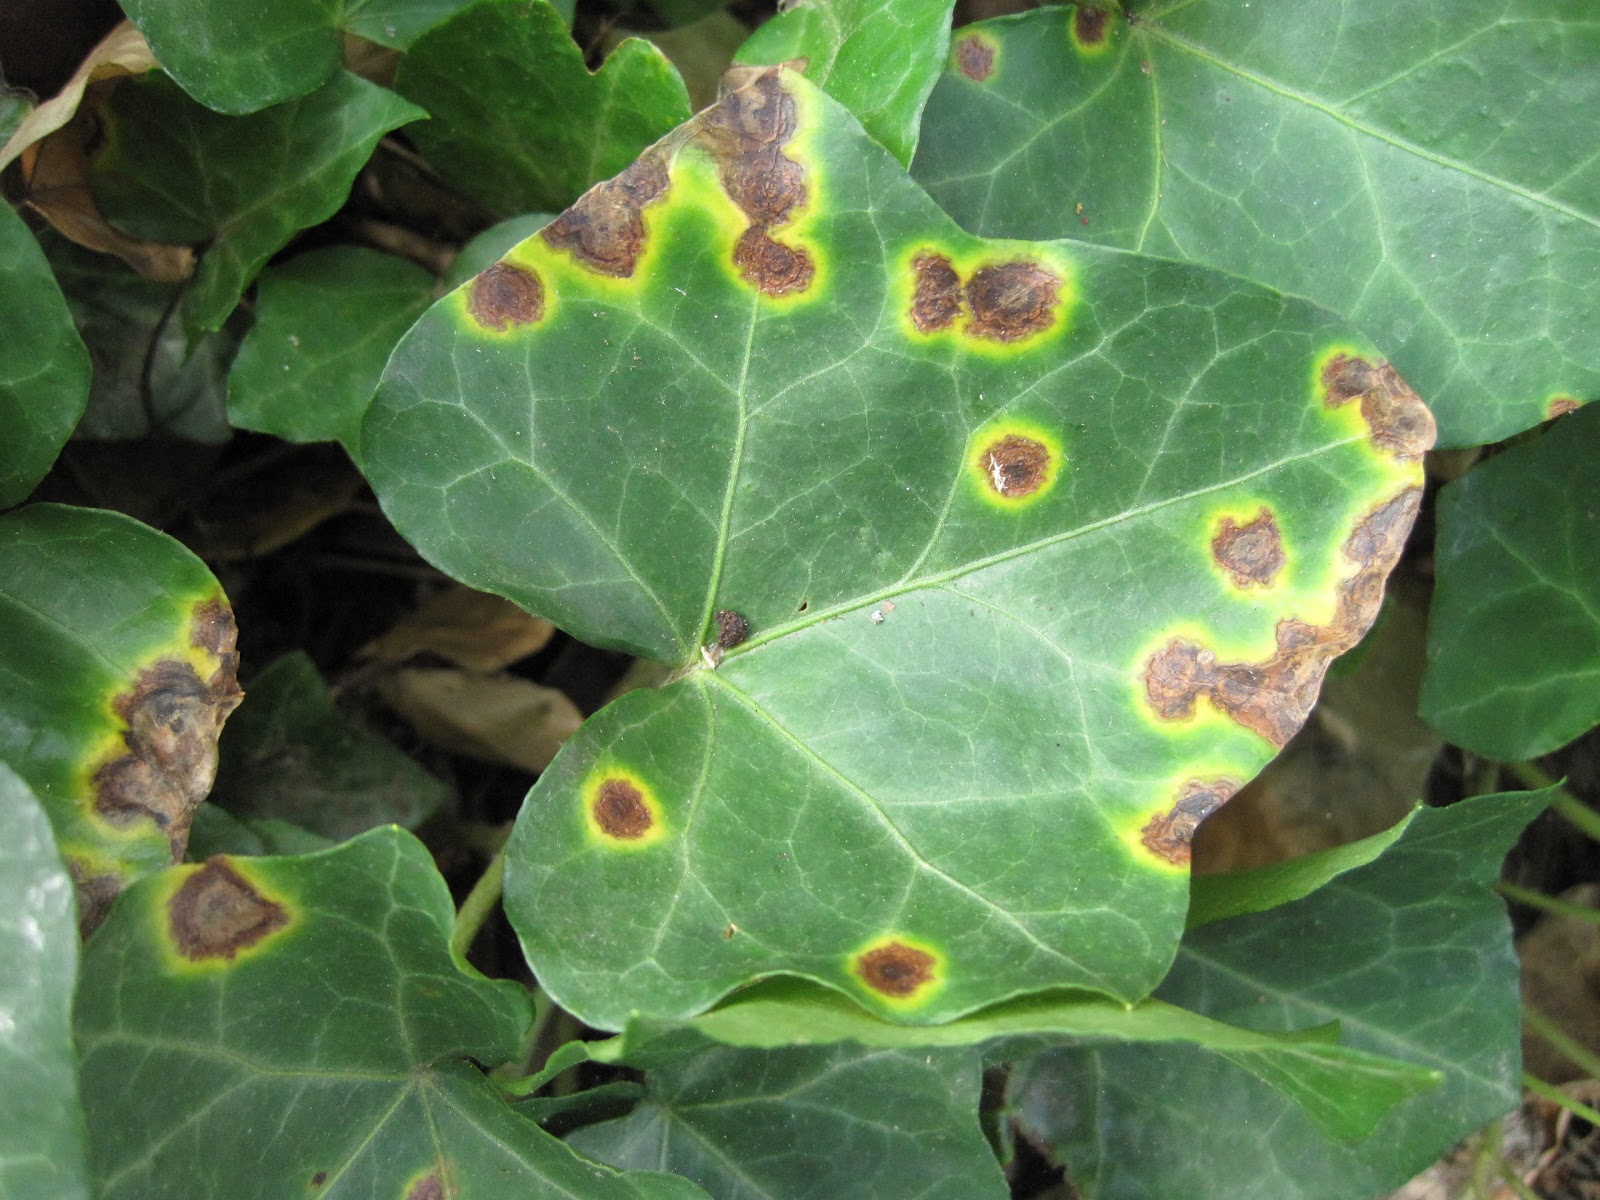
Dark spots caused by a bacterial or fungal infection sometimes appear on the plant, but they do NOT affect the health of the ivy. Simply remove all affected leaves and avoid wetting the leaves when watering.
Colour reversion
Ivy cultivars with variegated or unusually shaped leaves sometimes revert to plain green. Simply remove these odd shoots by cutting them off with a knife or snipping them with scissors. Ivy grown indoors sometimes loses its variegation if it sits in too shady a spot, so try moving it into more light.
Brown leaf tips
If you grow indoor ivy at home, brown leaf tips are a sign that the room is too warm or the air is too dry. Move it to a cooler spot and switch on the central heating less often, as it dries the air out enormously.
Propagating indoor ivy in 4 steps
Ivy is propagated from cuttings, ideally in spring or early summer. However, pinched or snipped cuttings can be rooted at any time of year, they will just take longer. To plant ivy you need clean garden scissors, a small pot, a growing medium (such as perlite, vermiculite or coarse sand), a rubber band and a clear bag large enough to cover the pot.
Step #1, prepare the pot
First, fill the pot with the growing medium. Spray it or water it lightly so that it is moist but not soaked. Using a stick or a pencil, make several centimetre-deep holes in the moist soil.
Step #2, plant the young shoots
Choose a few healthy stems to cut for planting. Pick stems that are woody but still flexible. Cut several 10-centimetre shoots, making the cut just below a leaf node (the point on the stem where a leaf grows from). Plant the shoots cut end down in the holes in the soil and firm them in place.
Step #3, cover with a plastic bag
Cover the pot with a plastic bag, which creates a greenhouse-like environment that retains moisture. Secure it around the bottom of the pot with a rubber band. Place the pot somewhere with indirect light. Check the moisture regularly and spray the soil if needed.
Step #4, repot after two months
Once new tendrils start growing on the cuttings, usually after one to two months, repot them into larger containers with a standard potting mix and care for them as usual. You can also use them to decorate rockeries.
Leave a Reply