
How to sew your own bed linen
Although shops offer a really wide range of bed linen, you may still find yourself wanting to sew your own. There can be several reasons. Sewing bed linen can save skilled home sewers money, or they may need covers in less traditional sizes, for example for a duvet handed down from a grandmother.
Another reason may be a special fabric, whether for its colours, patterns or properties, or a wish to dress your bed in an original way. Of course, it can also have its drawbacks, especially if you are not very good at sewing or you choose a fabric that is simply unsuitable for bed linen. But why not at least give it a try?
How to choose fabric for bed linen
You should not choose bed linen fabric only by width, colour and pattern, but mainly by its properties. Above all, the fabric should feel pleasant to the touch, because you usually spend a third of the day in your bed linen. Bedding is sewn from more or less common materials, both natural and synthetic. The first step is to choose the type of fabric you will sleep well in, and then choose the colours and pattern.
Type of fabric
Cotton fabrics
Cotton is probably the most popular natural material for bedding. It is processed in various ways and also differs in the type of weave. The result is several types of fabric for sewing covers, which also give the bed linen its name. For example, we distinguish crepe bed linen, flannel bed linen, sateen bed linen and so on. Their advantages are the ability to absorb moisture, strength, resistance to abrasion and the option of washing cotton linen at a minimum of 60°C. The disadvantage is that some fabrics crease easily.

Plain cotton
- very popular material, pleasant to the touch
- needs ironing
Cotton flannel
- made by brushing on both sides
- soft, very warm and pleasant to the touch
- no ironing needed
Cotton crepe
- made by creping (crinkling) plain cotton
- some people find the surface unpleasant
- no ironing needed
Cotton sateen
- pleasant to the touch
- dense weave, wicks sweat away well
- unlike polyester satin, it is not slippery or cool
- the drawback is a slightly higher price
- needs ironing
Mako sateen
- a premium type of cotton sateen with a very dense weave
- made exclusively from the finest Egyptian cotton
- very strong with a subtle sheen
- easier to iron than ordinary cotton sateen
Cotton jersey
- a knitted cotton fabric
- very stretchy
- in terms of warmth, it sits between plain cotton and flannel
- no ironing needed
Bed damask
- a special type of fabric with a jacquard weave
- made from cotton, often mercerised (a special treatment that increases strength)
- a more expensive but very high-quality fabric
Other natural materials
Bamboo
- even more absorbent than cotton
- resistant to bacteria
- pleasant to the touch
Silk
- the most luxurious bedding material
- hypoallergenic
- pleasant to the touch
- gentle on skin and hair
- very expensive
Linen
- also suitable for allergy sufferers
- good temperature regulation (cool in summer, warm in winter)
- pleasant and very strong
Fabrics with synthetic fibres
Microflannel
- flannel fabric made from synthetic fibres (polyester)
- very warm
- pleasant to the touch
Polycotton
- combines cotton and polyester fibres
- pleasant to the touch
- creases less than cotton
Polyester satin
- a cheaper alternative to cotton sateen
- absorbs less sweat
- feels cool
Fabric weight for bed linen
As a rule, the higher the fabric weight, the better the material:
- weight below 110 g/m2: not very good quality material, not recommended
- weight from 111 to 125 g/m2: reasonable quality at a lower price
- weight from 126 to 140 g/m2: good-quality material with a longer life at a standard price
- weight from 141 g/m2 and above: the highest-quality fabrics at the highest prices
Dimensions
If your duvet and pillow are standard sizes, measure a set of bed linen you normally use and buy fabric for the same dimensions. Do not forget that you need fabric for the seams, which means a few extra centimetres.
If you are sewing a cover for bedding of an unusual size, always make it slightly longer and wider so that the duvets and pillows are easy to put in. For a duvet, this should be about 4 to 5 cm more, and for a pillow about 2 to 3 cm more.
Remember that you always need everything twice for one bed, so for a double set, multiply by two again. If you have more pillows and want them in the same fabric, include those too. Of course, it also depends on whether you choose buttons, press studs, ties or a zip as the fastening. The amount of material needed is not huge, but it is better to buy a few centimetres too much than too little.
Of course, do not forget that a single bed and a double bed need different sizes. And one more warning. Some materials shrink, so you need to buy an extra allowance of about 10 to 25% depending on the type of fabric.
Patterns
If you are sewing your first set of bed linen, we recommend plain fabrics or a small regular pattern. Fabric with a large pattern is harder to cut, and it is more difficult to sew two matching covers for both beds. The simpler the pattern you choose, the easier the fabric will be to work with. Save complicated matching patterns or photo-print fabrics for later.
What else will you need?
Once you have chosen your fabric, get the other supplies ready:
- dressmaking scissors
- pins
- thread
- needles
- an iron
- a cutting surface
- tailor’s chalk
- a tape measure
- buttons, press studs, ties or a zip, depending on the fastening you have chosen
- a sewing machine
- if you have chosen buttons, a buttonhole foot as well
How to sew bed linen
If you are not experienced, start with a cover that is smaller and easier to sew. It is one of the things you can start with when learning how to start sewing on a sewing machine. Once you have mastered pillowcases, you can move on to duvet covers. For most materials, it is recommended to wash the fabric beforehand so that it does not shrink after sewing.
How to sew a pillowcase
Choose the thread to match the colour of your fabric. It should match the fabric as closely as possible, because the same colour will hide any small flaws, which would stand out with a contrasting thread.
Cut two rectangles to the size of the pillow plus 2 to 3 cm extra on both the shorter and longer sides, plus 2 cm for seams. Finish the edges with an overlock or zigzag stitch. Then place the two rectangles right sides together and sew along the shorter side. The distance from the edge depends on whether the cover will fasten with buttons, press studs, ties or a zip.
The most common fastening is buttons, but for that you need either an automatic buttonhole function or the skill to make a buttonhole with a satin stitch. If you are wary of buttonholes, you can use press studs, ties, or loops and buttons. The width of the placket must suit the type of fastening you choose. We describe how to sew in a zip below.
The placket is made by folding the edge over twice and pressing it. The placket is then secured by stitching. For a pillowcase, three buttonholes and three buttons on the placket are enough, or 3 to 4 larger press studs. With ties, finish their ends so they do not fray. Two to three ties are suitable, depending on the size of the pillow. Of course, they should match in colour. Buttonholes are sewn either perpendicular or parallel to the edge of the cover.
Once the fastening placket is finished, sew the remaining three sides with a straight stitch at the width of the presser foot. If you have not finished the edges yet, do it now. Press the seams and turn the finished pillowcase right side out. Check that the fastening works.
Tip: Also take a look at the article on decorative wall painting.
How to sew a duvet cover
A duvet cover is similar, only bigger, so what you managed easily on a pillowcase will need the support of pins or tacking over a larger area. First hem the cut pieces with the appropriate allowance.
Start with the seam where the cover will close. Here too, fold the fabric over twice and press. Prepare the placket on one of the shorter sides according to the type of fastening you have chosen. Prepare either buttonholes or another fastening. The cover is subject to strain, so the seams need to be sewn thoroughly.
Place the pieces wrong sides together and sew around them. Then turn the cover so that the right sides are together and sew around again to create a French seam. Do not forget to wash the finished bed linen again to get rid of the dust that cannot be avoided during sewing.
How to sew a zip into bed linen
If you are sewing in a zip for the first time, it is also better to start with a small pillowcase. Once you know how to sew a zip into a pillowcase, you will manage it on a larger cover too. You can use either a ready-made zip of the right size or continuous zip tape with a plastic slider. On a rectangular cover, the zip is always sewn into the shorter side. Fold a double hem and press it on both pieces. Then sew them together right sides facing with a straight stitch at the width of the presser foot. Press the finished seam open.
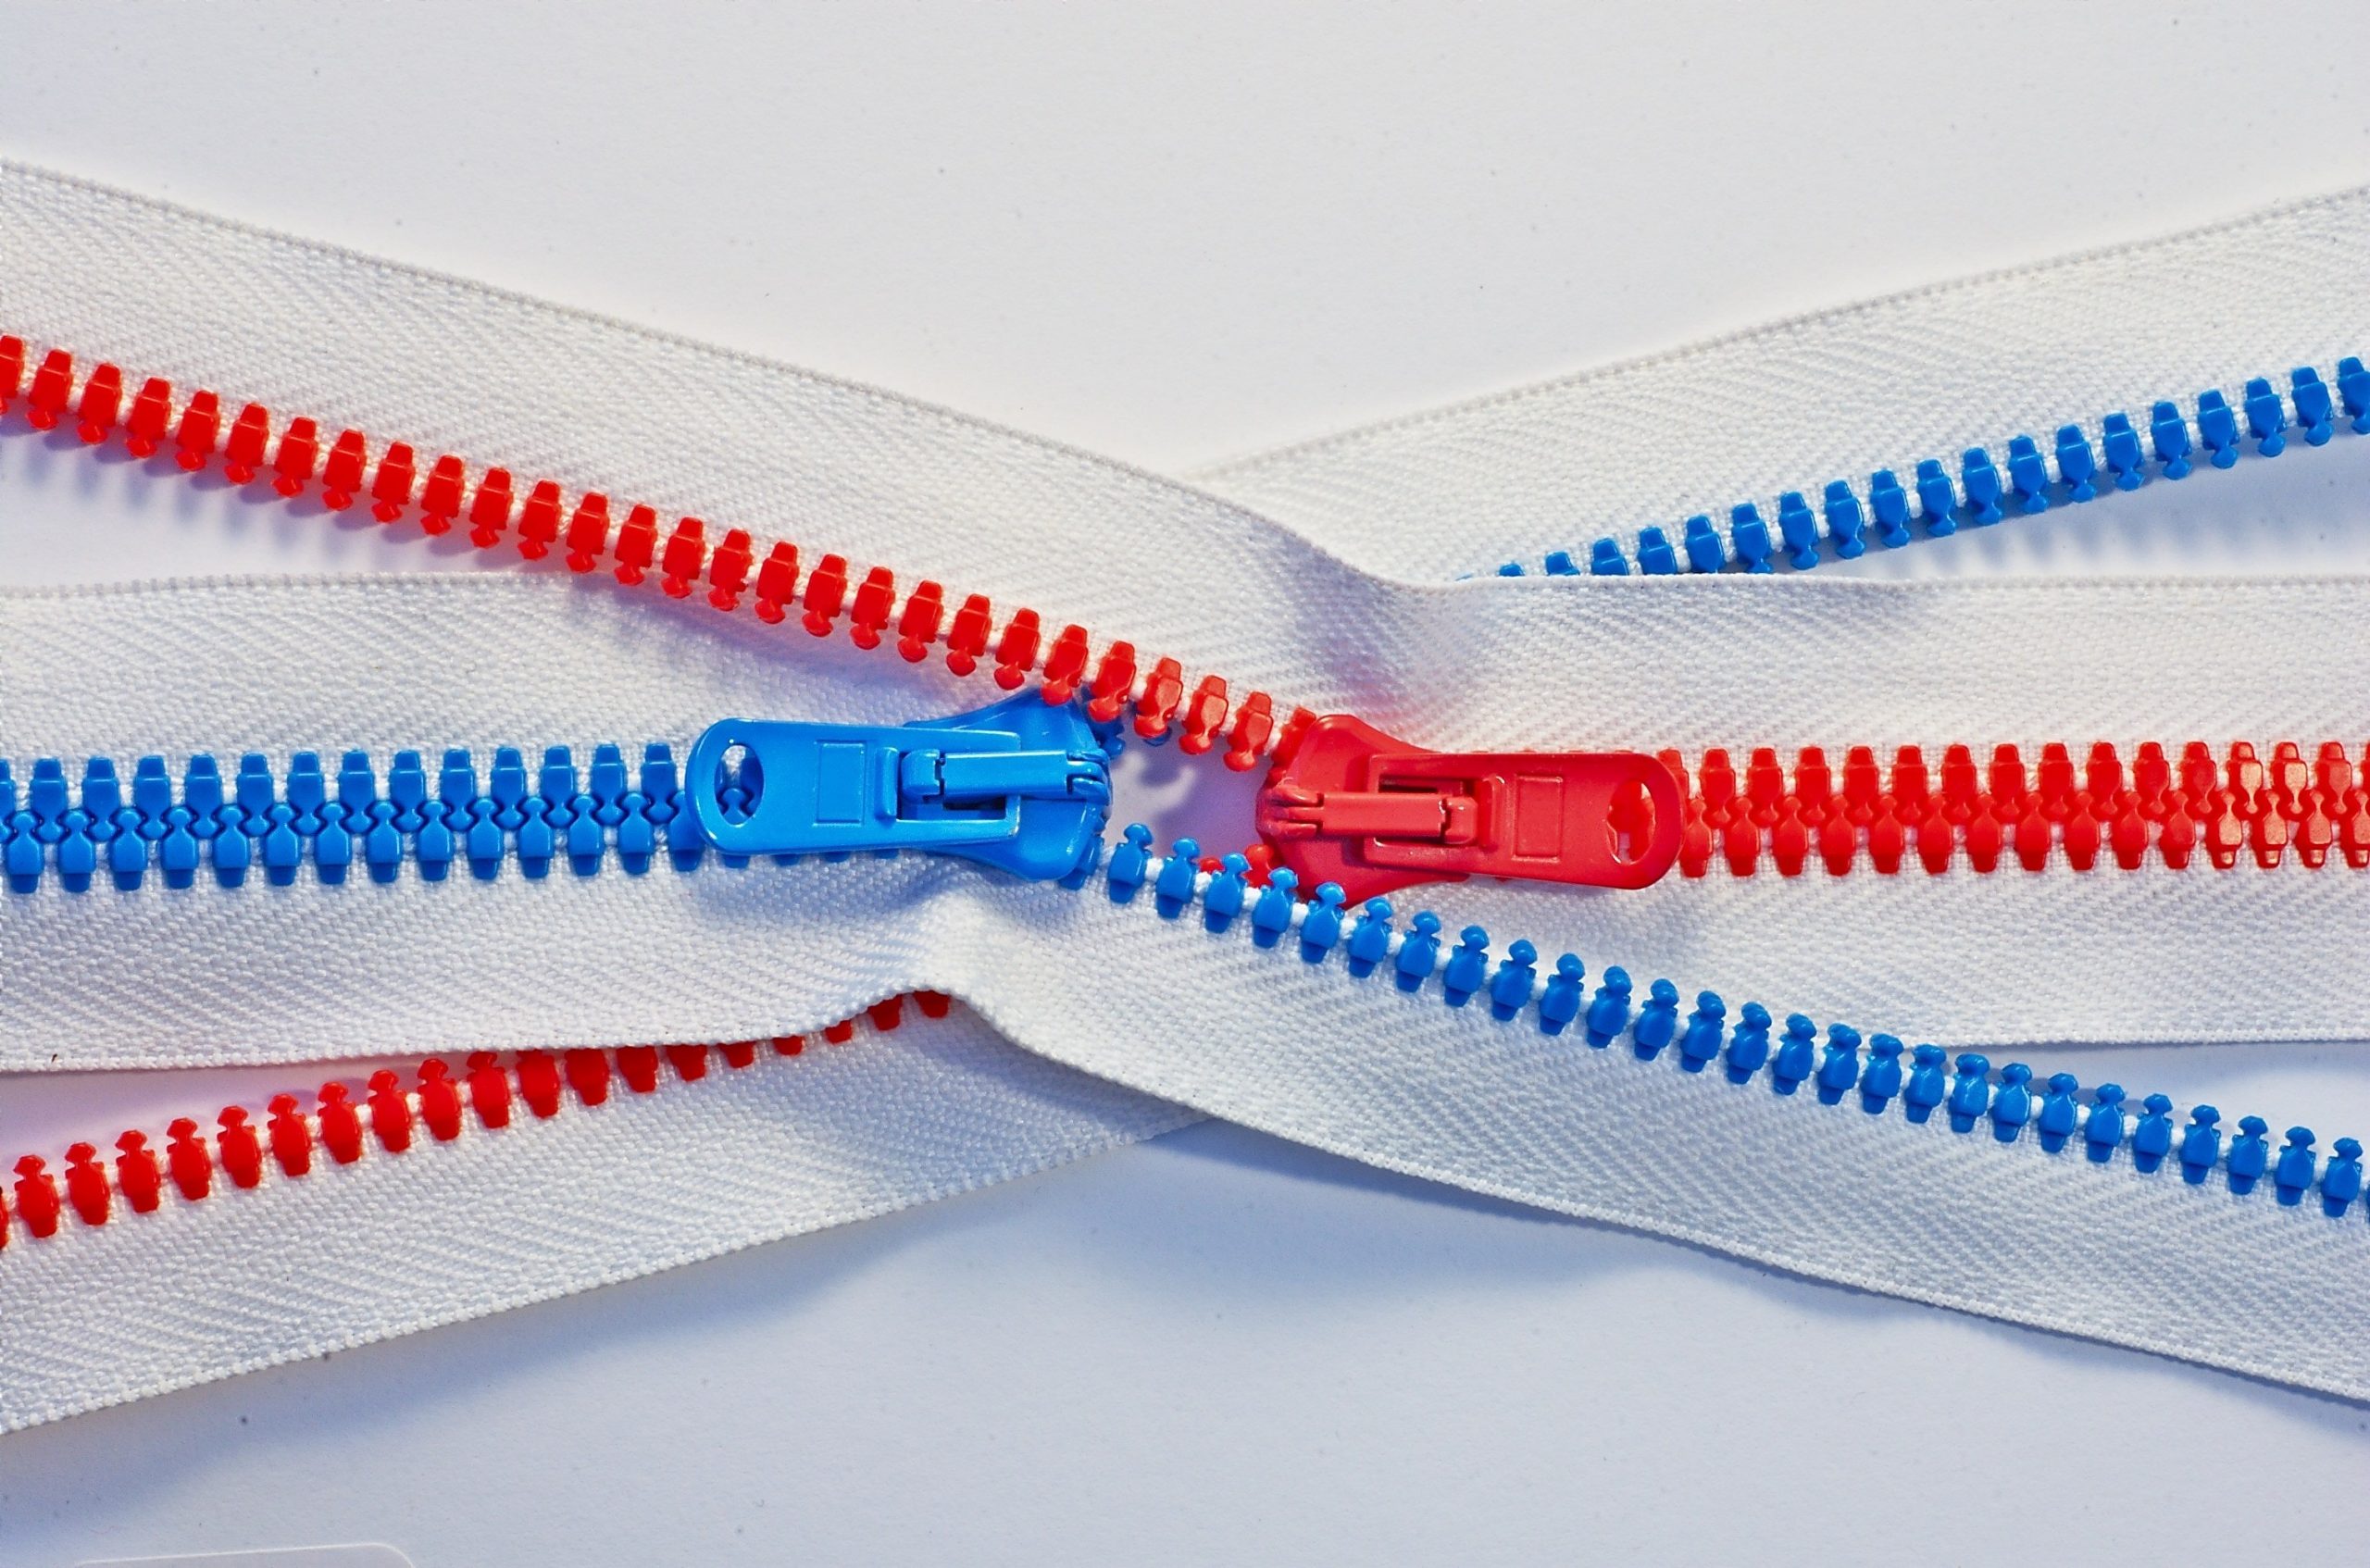
Then turn the seam over so the wrong side faces up and pin the zip onto it so that it extends at least 2 cm beyond the planned opening on both sides. The zip must sit perfectly on the seam. Then we sew it on from the right side, even though it stays on the wrong side under the fabric.
Be careful: sew slowly and carefully so that the zip does not shift and really stays on the seam. Stitch over the ends several times so they are firmly secured and the zip holds tight. On the right side, you will then see a long, narrow rectangle of stitches around the seam holding the zip in place. All that remains is to carefully unpick the original straight stitch, and the teeth of the zip will peek out. If your zip does not run from edge to edge, remember to sew up the remaining openings from the wrong side. Follow exactly the same steps for the duvet cover.
Final tip: Nervous about sewing full-size bedding straight away? Try the method on a doll’s pillow and duvet first. It is the same, just smaller.
Leave a Reply