
7 tips for cleaning bathroom grout
Cleaning the grout in your bathroom is surely not one of your favourite activities. We have put together some tips on how to get rid of the dirt without spending too much time on it. Believe us, you will clean that grout before you know it.
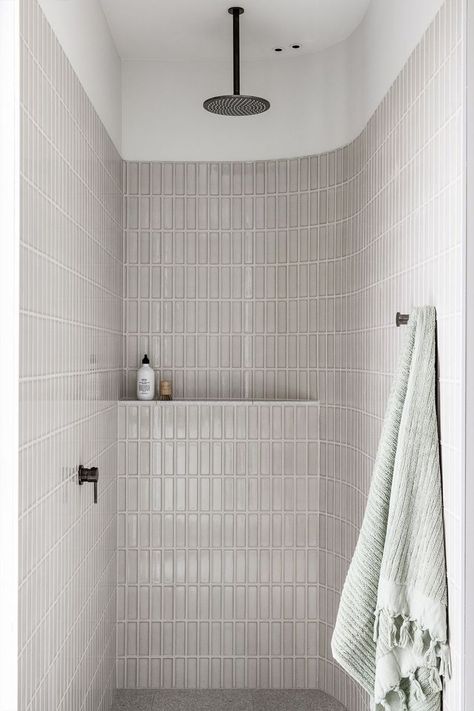
First, let’s look at a few simple methods that will help you keep your bathroom spotlessly clean with little effort. After all, practice makes perfect.
- Cleaning product
Apply a cleaning product and leave it to work for at least 15 minutes. It does not really matter which one you use, though eco-friendly products are especially popular today.
- Microfibre cloth
If you do not have one, use a soft brush, but it also depends on how dirty the grout is.
- Rinse with water
Then wash the whole surface with warm water and a little washing-up liquid.
7 tips for cleaning bathroom grout
1. Vinegar and baking soda
Vinegar is probably the most common cleaning aid in almost every household. You can easily use it to clean toilets and stains in the microwave, and it can even remove limescale from your kettle. That is why it will also help you clean the grout in your shower or bathroom. So how do you do it? Mix hot water with vinegar. Spray it onto the grout and leave it to work for at least 5 minutes. Then scrub the grout.
If that still does not get rid of the dirt, try adding baking soda. Make a paste and carefully apply it between the tiles, ideally with an old toothbrush. Let’s be honest, this is a fairly demanding method that will probably take up a good part of your Saturday afternoon, but it will certainly work. After a few tens of minutes, scrub the grout with a sponge.
2. Warm water
If the grout is not too dirty and cleaning it is just part of your regular cleaning routine, warm water and a soft brush or microfibre cloth will be enough.
Dampen the cloth or brush in warm water and scrub the grout lines one by one. Then wipe the whole surface with a clean cloth and leave it to dry.
3. Grout bleach
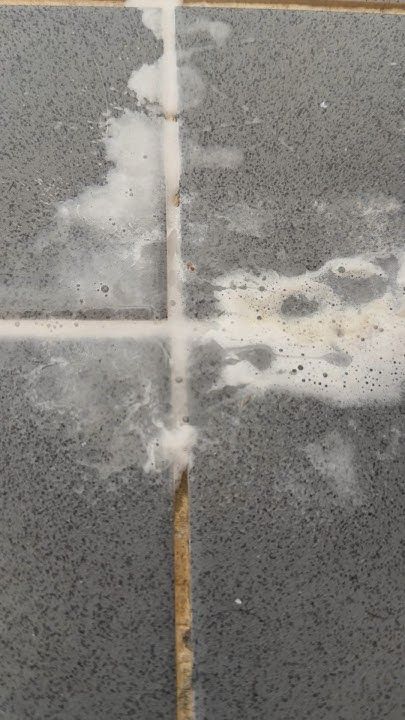
Oxygen bleach is somewhat stronger, but be careful when working with it. Oxygen bleaches are eco-friendly, unlike chlorine-based bleach. You can buy it at a chemist’s as a powder that needs to be dissolved in water. Be sure to read the instructions on the packaging before you start. Clean in the same way as with other products: apply the bleach to the grout, leave it to work, scrub with a brush and wipe off.
4. Special grout cleaner
If natural products, or peroxide or bleach on their own, do not help, try commercially made products designed specifically for cleaning grout.
There are two types on sale. With some, you simply spray them onto the grout and wipe with a cloth, while others need a brush to clean properly. The ones that do not require more demanding manual cleaning usually contain stronger chemicals.
5. Steam cleaner
Steam cleaners are one of the most eco-friendly and simplest methods. They let you clean almost every corner of your home, including the grout in the kitchen or in a masonry walk-in shower. Their higher price may put you off. However, if you invest in a good-quality steam cleaner, it will make cleaning your whole home easier for several years to come.
6. Chlorine-based bleach for the toughest dirt
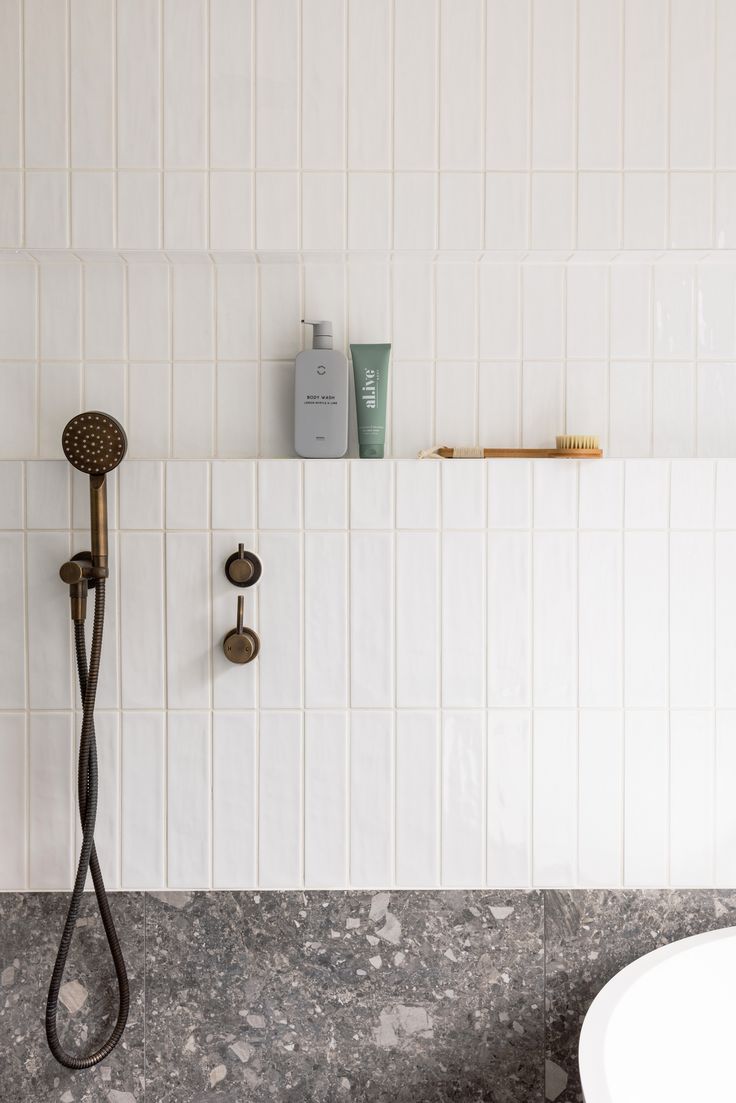
Extremely dirty grout, which you might come across, for example, when moving into an attic flat after untidy tenants, calls for the heaviest artillery: chlorine bleach. However, only reach for it once all other methods have failed.
7. Whitening grout with peroxide
After a few years, grout that was originally white usually no longer shines as it did, especially in the kitchen, where something is always cooking. Bleach will help restore its original beauty, and the gentlest option is hydrogen peroxide. You can mix peroxide with baking soda in a ratio of 1:2 to make a very effective grout cleaner. Apply the resulting paste to the grout, leave it to work for 10 minutes, scrub with a brush and wipe off with a damp cloth.

It never pays to neglect the grout in your bathroom. Always include it when you clean. Otherwise, you will wear yourself out scrubbing it later.
Source: homeandgardens.com
Leave a Reply